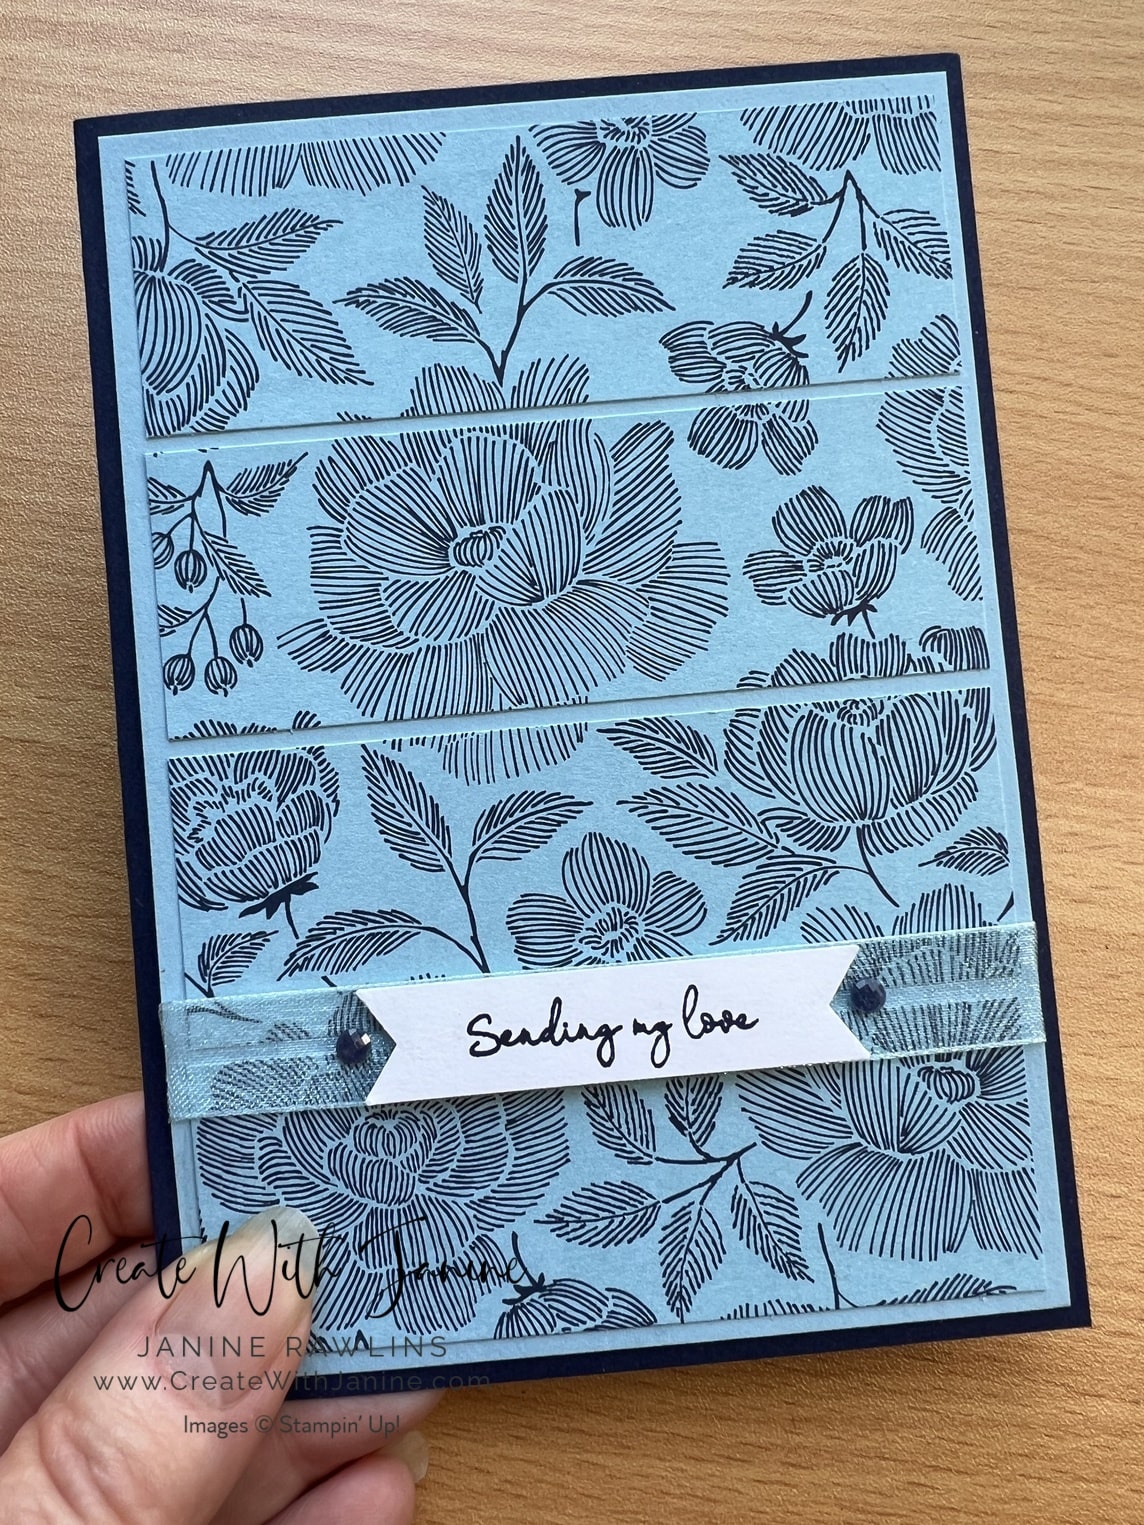
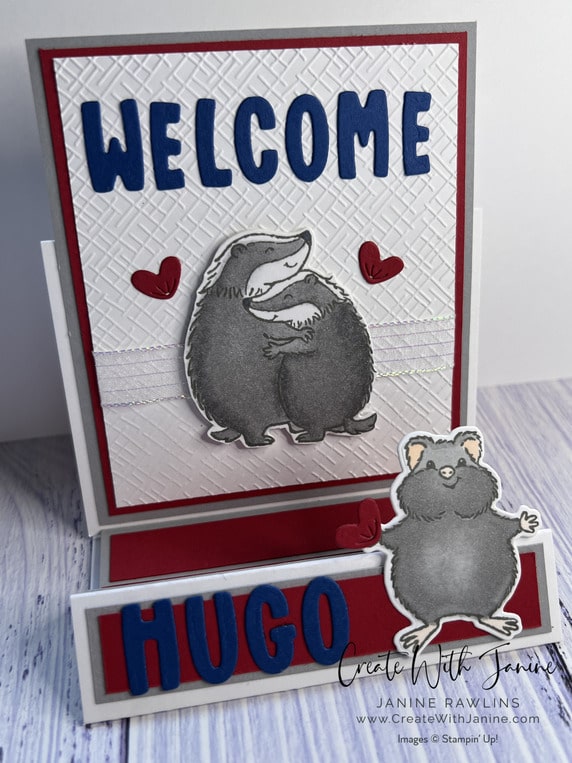
Here are some more class samples from my Stampin’ Up! Lattice cards classes this month. In class we made portrait and landscape orientation versions of the lattice cards.

There are many ways to construct this card style. I use grid paper to line up the railings and hold them in place with a post-it note. One thing I added that was not done in other tutorials I looked at was to add an extra upright post to the back of the lattice. This gives the lattice extra support and ensures you card stands well with out sagging.
My card above was decorated using the Paper Florist dies. I love these dies for cardmaking and 3D projects. If you haven’t had a good look at them do it now! I have other posts on my blog showing how we used these dies for 3D displays at our 35 for 35 event in July. Click here to see.

My landscape orientation lattice card was decorated using the Petal Park stamp set and matching Petal Park Builder punch. The leaves are done using the Layering Leaves stamp set and Bough punch. Adding a contrast matt to the inside of the card adds a contrast for your lattice or fence design. I added colour to the stamped flowers with a Stampin’ Write marker pen in the matching card colour.

Add extra texture to your lattice cards by embossing the railings and posts. This card above was embossed using the Stripes & Spatters embossing folders. Add angled tops to your fence posts to add more detail too. The dies for this card are from the Dainty Delight die set.
Give the lattice card style a try if you haven’t made one before. For more inspiration have a look at this post too where I share more ideas for lattice cards.
Happy Creating!


